Enable SSH on Steam Deck: A Step-by-Step Guide
Quick Links
The Steam Deck is a powerhouse of versatility, catering not only to gamers but also to those who use it as a portable PC. With its desktop mode, users can go beyond gaming and access internal storage remotely for various needs.
Running on a Linux-based system, the Steam Deck supports Secure Shell (SSH), a protocol that allows secure remote data access. However, many users are unaware of how to enable and utilize this feature. This guide aims to demystify the process of enabling and using SSH on the Steam Deck, providing comprehensive instructions and additional tips.
Steps For Enabling SSH On The Steam Deck
 Enabling SSH on your Steam Deck is straightforward. Follow these steps:
- Power on your Steam Deck.
- Press the Steam button.
- Navigate to Settings > System > System Settings > Enable Developer Mode.
- Press the Steam button again.
- Select Power > Switch to Desktop Mode.
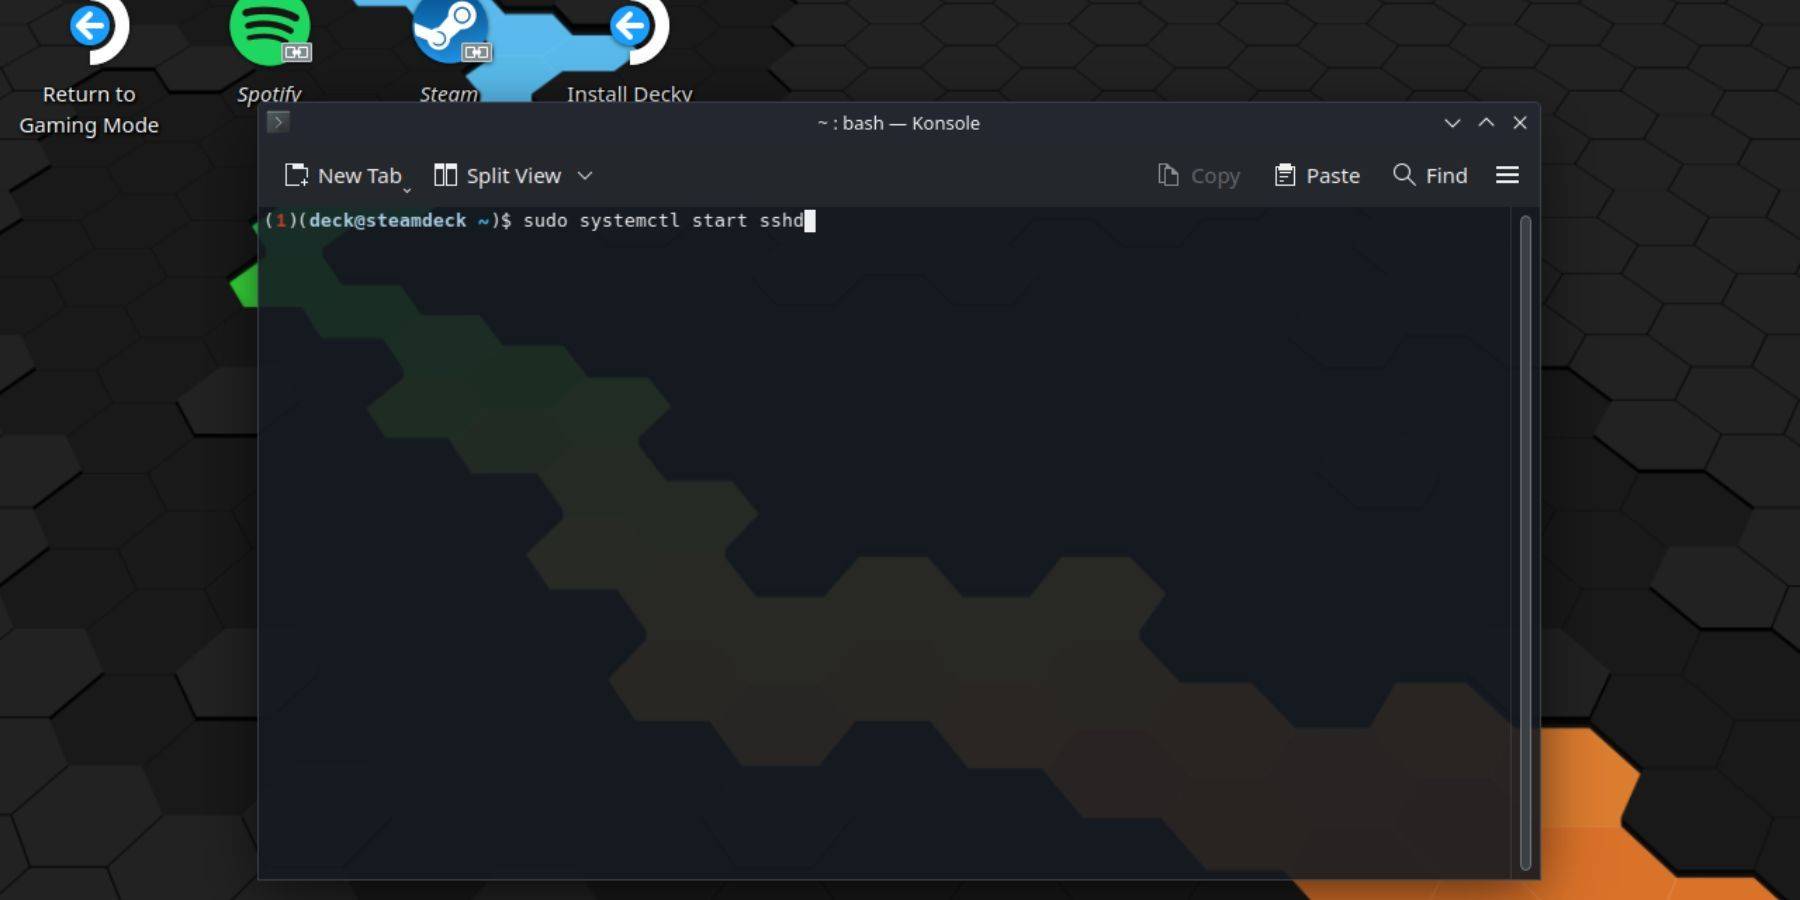
- Open the Konsole from the Start menu.
- Set a password if you haven't already by entering the command:
passwd. Follow the prompts to set your password. - Enable SSH by entering the command:
sudo systemctl start sshd. To ensure SSH starts automatically after reboots, enter:sudo systemctl enable sshd. - Once enabled, you can access your Steam Deck remotely using any SSH client.
Important: Avoid deleting or moving system files to prevent OS corruption.
How To Disable SSH On The Steam Deck
If you need to disable SSH, follow these steps:
- Open the Konsole from the Start menu.
- To disable SSH, enter:
sudo systemctl disable sshd. To stop SSH immediately, use:sudo systemctl stop sshd.
How To Use SSH To Connect To The Steam Deck
 With SSH enabled, you can remotely access your Steam Deck's data. For instance, you can use a third-party app like Warpinator. Install Warpinator on both your Steam Deck and your PC, then launch them simultaneously to transfer data effortlessly.
If you're using a Linux PC, you don't need a third-party app. Simply open your file manager and enter sftp://deck@steamdeck in the address bar. Enter the password you set earlier to establish the connection.

-
 Free Fire has established itself as one of the leading battle royale games for mobile, outperforming Call of Duty: Mobile and rivaling PUBG Mobile. To become the last survivor in each match, players need a deep understanding of game mechanics. WhileAuthor : Peyton May 12,2026
 -
When the medieval zombie survival game God Save Birmingham debuted in April, its 8-minute "gameplay" trailer ignited a firestorm of reactions—equal parts excitement and deep skepticism. Jokes about its Birmingham setting were plentiful, but a strongeAuthor : Riley May 12,2026


![A Father’s Sins – Going to Hell [Ch. 7 Public] By Pixieblink](https://img.laxz.net/uploads/67/1719578270667eae9eb6a75.jpg)


- Spring Valley Farm Game: January 2025 Redeem Codes
- "Save 20% on Top 2025 PC Games"
- Mobile Legends: Bang Bang – Best Lukas Build
- Pokémon Presents 2025 Unveils Exciting Reveals
- "Grand Outlaws Unleashes Chaos and Crime on Android Soft Launch"
- Pokémon Sleep Is Celebrating Valentine’s Day with Éclair, Cheesecake and More Desserts!