Superliminal: Immersive Puzzle Adventure Explores Perception
Master the Art of Google Chrome Webpage Translation: A Comprehensive Guide
Tired of language barriers hindering your online browsing experience? This guide provides a step-by-step walkthrough on effectively using Google Chrome's built-in translation features, covering whole-page translation, selected text translation, and personalized settings adjustments. Follow these simple steps to unlock seamless multilingual web browsing.
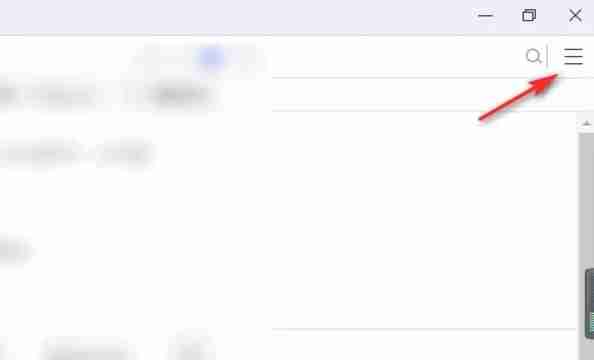
Step 1: Accessing the Settings Menu
Locate and click the "More" menu in the upper right-hand corner of your Google Chrome browser window. This is typically represented by three vertical dots or three horizontal lines.
Step 2: Navigating to Browser Settings
In the dropdown menu, select the "Settings" option. This will open your browser's settings page.

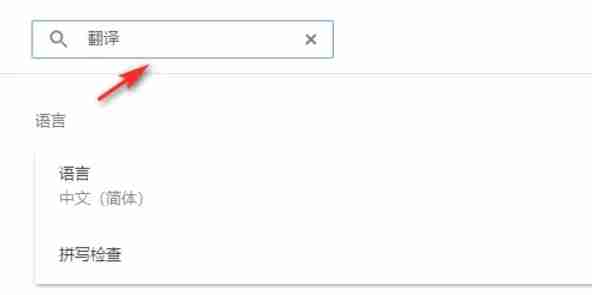
Step 3: Locating Translation Settings
At the top of the settings page, you'll find a search bar. Enter "Translate" or "Languages" to quickly filter and locate the relevant settings.
Step 4: Accessing Language and Translation Options
Once the search results appear, locate and click the "Languages" or "Translation" option.
Step 5: Managing Supported Languages
In the language settings, you'll see a list of languages supported by your browser. Use the dropdown menu to add or manage languages.

Step 6: Enabling Automatic Translation
Crucially, ensure the option "Offer to translate pages that aren't in a language you read" is enabled. This allows Chrome to automatically prompt you to translate web pages written in languages other than your default browser language, eliminating the need for manual intervention each time.
By following these steps, you can leverage Google Chrome's powerful translation tools for a truly global online experience.
-
 Infinity Nikki's Eerie Season arrives on February 26th, following scheduled maintenance.This spooky early Halloween treat features a haunted castle, new cosmetics, and additional content.Explore the Queen's Palace Ruins and participate in limited-timAuthor : Allison May 05,2026
 -
 Clash Royale's Inferno Dragon finally receives its long-awaited evolution upgrade. After nearly a decade in the game, this fiery legendary creature gets a powerful enhancement. To celebrate, Supercell partnered with Finnish comedian Ismo Leikola forAuthor : Daniel May 03,2026


![A Father’s Sins – Going to Hell [Ch. 7 Public] By Pixieblink](https://img.laxz.net/uploads/67/1719578270667eae9eb6a75.jpg)