Wipe Mods Safely: Preserve Game Progress
Ready or Not's modding scene is vibrant, offering exciting ways to enhance your gameplay. However, mods can sometimes cause instability or prevent you from playing with friends who don't have the same modifications installed. This guide shows you how to completely remove all mods from your game.
How to Remove Mods in Ready or Not
There are various methods for installing Ready or Not mods (Nexus Mod Manager, mod.io, etc.), but removing them follows a consistent process:
Unsubscribe: Launch Ready or Not. In the in-game Mod Menu, unsubscribe from all your mods. This prevents them from automatically reinstalling later. Close the game.
Delete Game Files: Open Steam, right-click Ready or Not in your Library, select Properties, then Installed Files, and finally Browse. This opens the game's directory. Navigate to Ready Or Not > Content > Paks. Delete everything within the Paks folder, then delete the Paks folder itself.
Delete Local AppData Files: Press Windows+R, type
%localappdata%, and press Enter. Locate the Ready Or Not folder, then navigate to Ready Or Not > Saved > Paks and delete the Paks folder within.Verify Game Files: In Steam, right-click Ready or Not, go to Properties > Installed Files > Verify Integrity of Game Files. This ensures your game files are consistent and free of any lingering mod remnants.
Optional Reinstall: For a completely clean slate, consider reinstalling the game. This isn't strictly necessary but provides a fresh start.
Why Delete Ready or Not Mods?
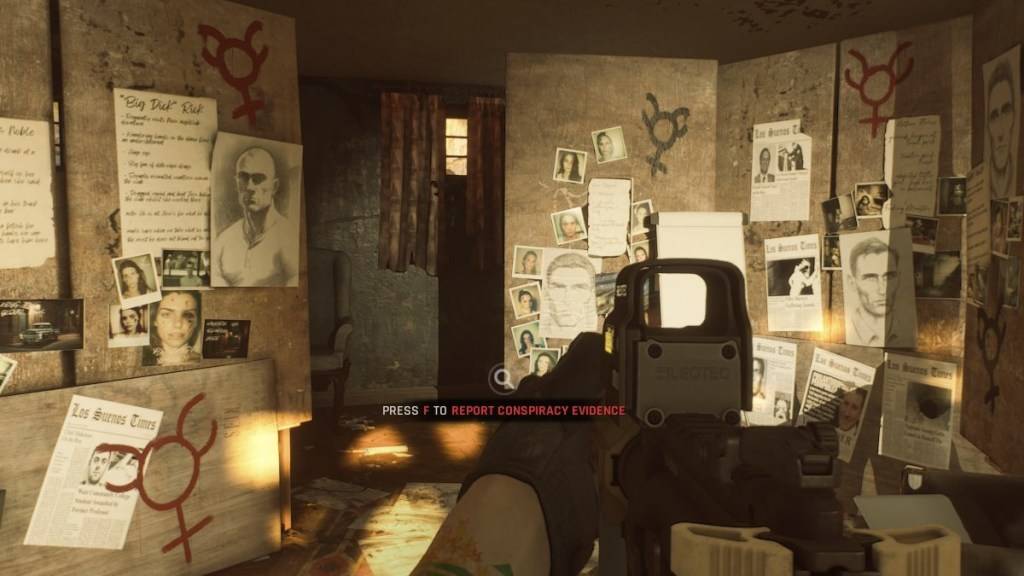
While mods add fantastic content, they can also introduce errors, bugs, and glitches. A clean mod removal often resolves these issues. Furthermore, mods prevent multiplayer with friends who haven't installed the same mods. Removing them allows for seamless co-op gameplay.
Ready or Not is available now for PC.
-
 SYBO and Hipster Whale have joined forces for an unexpected crossover event that will bring together two legendary mobile games. Subway Surfers and Crossy Road – both iconic titles in mobile gaming history – will feature content from each other's uniAuthor : Simon Mar 30,2026
 -
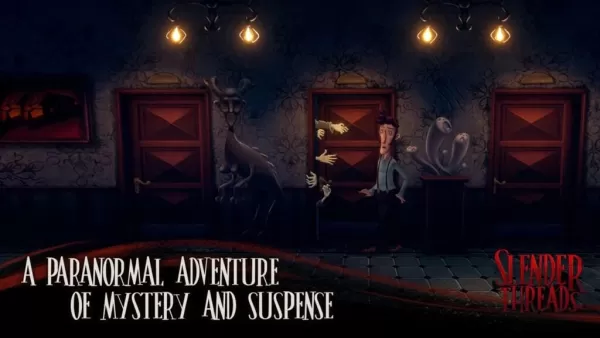 Slender Threads is now available on Android. It’s a paranormal point-and-click adventure by Blyts, the creators behind the Nobodies series—Nobodies: Murder Cleaner, Nobodies: After Death, and Nobodies: Silent Blood—along with the acclaimed Infamous MAuthor : Jonathan Mar 29,2026
-
 Steel And Flesh OldDownload
 -
 Rise of the KingsDownload
 -
 Reversal of DeckDownload
 -
 This is the Awahime Academy Cultural Festival!Download
 -
 Art Assemble: Home MakeoverDownload
 -
 An ignorant wifeDownload
 -
 Devil’s Academy DxDDownload
 -
 Jackpot Slot GameDownload
 -
![My Swallow Car [Beta]](https://img.laxz.net/uploads/95/1731077402672e251a14cec.webp) My Swallow Car [Beta]Download
My Swallow Car [Beta]Download -
 Virtual Families: Cook OffDownload


- Spring Valley Farm Game: January 2025 Redeem Codes
- Mobile Legends: Bang Bang – Best Lukas Build
- "Grand Outlaws Unleashes Chaos and Crime on Android Soft Launch"
- WWE Superstars Join Call of Duty Warzone: Mobile Roster
- Midnight Girl is a minimalist point-and-click adventure set in Paris in the 60s, now open for pre-orders on mobile
- Video Game Song Surpasses 100 Million Streams on Spotify