HellDivers 2: Lista de nivel pasivo de armadura
HellDivers 2 Passives de armadura: una guía completa y una lista de niveles
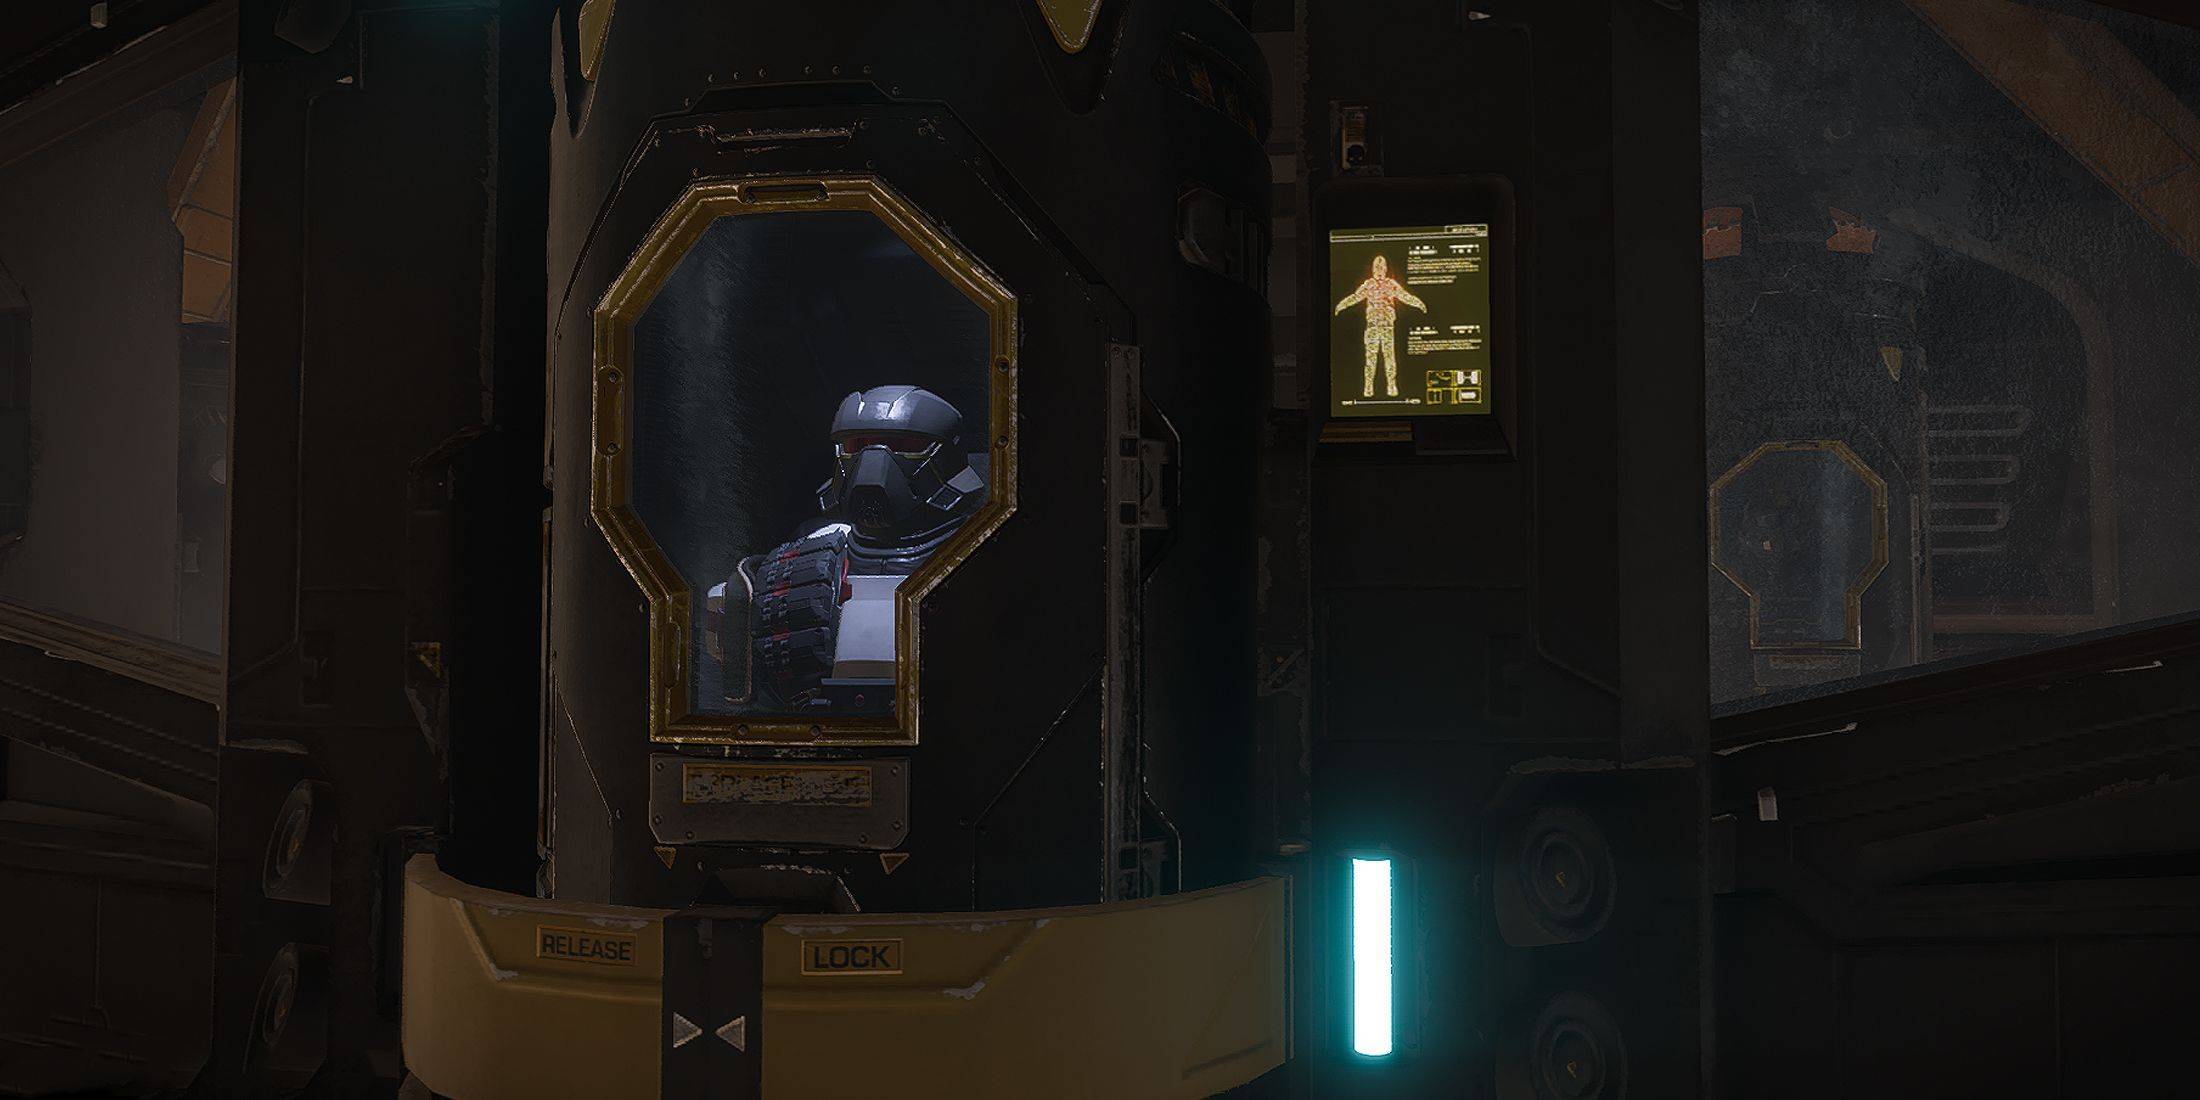
Helldivers 2 clasifica la armadura en la luz, la movilidad y la defensa de impaciencia, de manera media y pesada. Sin embargo, el verdadero cambio de juego se encuentra en los pasivos de armadura: poderosas ventajas que alteran significativamente el juego. Esta guía proporciona una descripción completa de todos los pasivos y una lista de niveles para ayudarlo a optimizar sus carga.
Todos los pasivos de armadura y sus efectos
La siguiente tabla detalla los 14 puestos de armadura en Helldivers 2 (a partir de la versión del juego 1.002.003). Recuerde, estos pasivos están vinculados solo a la armadura corporal; Los cascos y capas no ofrecen bonos adicionales.
| Armor Passive | Description |
|---|---|
| Acclimated | 50% resistance to acid, electrical, fire, and gas damage. |
| Advanced Filtration | 80% resistance to gas damage. |
| Democracy Protects | 50% chance to survive lethal attacks (e.g., headshots); prevents chest injuries (e.g., internal bleeding). |
| Electrical Conduit | 95% resistance to lightning arc damage. |
| Engineering Kit | +2 grenade capacity; 30% recoil reduction while crouching or prone. |
| Extra Padding | +50 armor rating. |
| Fortified | 50% resistance to explosive damage; 30% recoil reduction while crouching or prone. |
| Inflammable | 75% resistance to fire damage. |
| Med-Kit | +2 stim capacity; +2 seconds additional stim duration. |
| Peak Physique | 100% increased melee damage; improved weapon handling (reduced weapon movement drag). |
| Scout | 30% reduced enemy detection range; map markers generate radar scans revealing nearby enemies. |
| Servo-Assisted | 30% increased throwing range; 50% additional limb health. |
| Siege-Ready | 30% increased primary weapon reload speed; 30% increased primary weapon ammo capacity. |
| Unflinching | 95% reduced recoil flinching. |
Lista de nivel pasivo de armadura
Esta lista de niveles, basada en la versión 1.002.003, clasifica a los pasivos por valor general, utilidad y efectividad en varias misiones y tipos enemigos.
| Tier | Armor Passive | Why? |
|---|---|---|
| **S** | Engineering Kit | Significantly increases utility; more grenades for various tactical options (sealing breaches, destroying objectives, crowd control). |
| Med-Kit | Dramatically improves survivability, especially when combined with the Experimental Infusion booster; essentially allows for "cheat death" scenarios. | |
| Siege-Ready | Boosts ammo capacity and reload speed for primary weapons; crucial for handling large enemy groups, particularly with high-consumption weapons. | |
| **A** | Democracy Protects | Provides substantial early-game survivability against lethal attacks and chest injuries. |
| Extra Padding | Offers a consistent boost to overall damage resistance. | |
| Fortified | Extremely effective against Automatons, mitigating damage from explosives and enhancing weapon effectiveness against heavily armored targets. | |
| Servo-Assisted | Ideal against Terminids; increased throwing range allows for safer stratagem deployment and grenade use; additional limb health improves survivability against claw attacks. | |
| **B** | Peak Physique | Situational; melee combat is generally avoided, though the weapon handling improvement is useful against mobile enemies. |
| Inflammable | Effective for fire-based builds and on maps with fire hazards; useful against Terminids and Illuminate. | |
| Scout | Useful for revealing enemy positions, but could be improved by highlighting points of interest or objectives. | |
| **C** | Acclimated | Limited value; rarely will you encounter all four elemental damage types in a single mission. |
| Advanced Filtration | Only beneficial for gas-focused builds; overall impact is relatively low. | |
| Electrical Conduit | Primarily useful against the Illuminate; other options often provide better overall benefits. | |
| Unflinching | Minimal impact on combat effectiveness; recoil reduction is barely noticeable. |
Esta guía y lista de niveles lo ayudarán a tomar decisiones informadas al seleccionar pasivos de armadura en Helldivers 2, mejorando su supervivencia y efectividad de combate. Recuerde que el mejor pasivo siempre dependerá de su estilo de juego elegido, objetivos de misión y las facciones enemigas que enfrentas.
-
 Free Fire se ha consolidado como uno de los juegos battle royale líderes para dispositivos móviles, superando a Call of Duty: Mobile y rivalizando con PUBG Mobile. Para ser el último superviviente en cada partida, los jugadores necesitan comprender pAutor : Peyton May 12,2026
 -
Cuando el juego medieval de supervivencia contra zombies God Save Birmingham debutó en abril, su tráiler de "gameplay" de 8 minutos desató una tormenta de reacciones: a partes iguales entre entusiasmo y profundo escepticismo. Los chistes sobre su ambAutor : Riley May 12,2026


![A Father’s Sins – Going to Hell [Ch. 7 Public] By Pixieblink](https://img.laxz.net/uploads/67/1719578270667eae9eb6a75.jpg)


- Juego de Spring Valley Farm: enero de 2025 Códigos de redimir
- "Ahorre 20% en los mejores juegos de PC 2025"
- Mobile Legends: Bang Bang – Mejor construcción de Lukas
- Pokémon presenta 2025 revelaciones emocionantes revelas
- "Grand Outlaws desata el caos y el crimen en Android Soft Lanzamiento"
- ¡Pokémon Sleep está celebrando el Día de San Valentín con Éclair, Cheesecake y más postres!
-
1Domina tu tiempo: las mejores aplicaciones de productividad
-
2Los mejores juegos casuales para relajarse
-
3Aplicaciones Populares para Usuarios de Android
-
4Divertidos juegos educativos para impulsar el aprendizaje
-
5Explore el mundo de los juegos de tiro
-
6Los mejores juegos de deportes para Android