Helldivers 2: သံချပ်ကာ passive tier စာရင်း
Helldivers 2 သံချပ်ကာ POSTS: ပြည့်စုံသောလမ်းညွှန်နှင့် Tier စာရင်း
Helldivers 2 သည်သံချပ်ကာကိုအလင်း, အလယ်အလတ်နှင့်မိုးသည်းထန်စွာ, သို့သော်တကယ့်ဂိမ်း - ပြောင်းလဲသူသည်သံချပ်ကာ Promers တွင်တည်ရှိပြီး - အစွမ်းထက်အခွင့်အရေးသည် Gameplay ကိုပြောင်းလဲစေသည်။ ဤလမ်းညွှန်သည်သင်၏ loadouts များကိုပိုမိုကောင်းမွန်စေရန်ကူညီရန် Passives အားလုံးနှင့် Tier စာရင်းကိုအကောင်အထည်ဖော်နိုင်ပါသည်။
သံချပ်ကာများနှင့်သူတို့၏သက်ရောက်မှုများ
အောက်ဖော်ပြပါဇယားသည် Helpivers 2 တွင်သံချပ်ကာ Proments 14 ခု (1.002.003 ဂိမ်းဗားရှင်း) တွင်ဖော်ပြထားသည်။ သတိရပါ, ဤ passives သည်ခန္ဓာကိုယ်သံချပ်ကာနှင့်သာသက်ဆိုင်သည်ကိုသတိရပါ။ သံခမောက်လုံးနှင့် Capes များသည်အပိုဆောင်းအပိုဆုကြေးများကိုမကမ်းလှမ်းပါ။
| Armor Passive | Description |
|---|---|
| Acclimated | 50% resistance to acid, electrical, fire, and gas damage. |
| Advanced Filtration | 80% resistance to gas damage. |
| Democracy Protects | 50% chance to survive lethal attacks (e.g., headshots); prevents chest injuries (e.g., internal bleeding). |
| Electrical Conduit | 95% resistance to lightning arc damage. |
| Engineering Kit | +2 grenade capacity; 30% recoil reduction while crouching or prone. |
| Extra Padding | +50 armor rating. |
| Fortified | 50% resistance to explosive damage; 30% recoil reduction while crouching or prone. |
| Inflammable | 75% resistance to fire damage. |
| Med-Kit | +2 stim capacity; +2 seconds additional stim duration. |
| Peak Physique | 100% increased melee damage; improved weapon handling (reduced weapon movement drag). |
| Scout | 30% reduced enemy detection range; map markers generate radar scans revealing nearby enemies. |
| Servo-Assisted | 30% increased throwing range; 50% additional limb health. |
| Siege-Ready | 30% increased primary weapon reload speed; 30% increased primary weapon ammo capacity. |
| Unflinching | 95% reduced recoil flinching. |
သံချပ်ကာ Passive Tier List
ဤ Tier List သည်ဗားရှင်း 1.002.003 ကို အခြေခံ. Promentives များကိုမစ်ရှင်များနှင့်ရန်သူအမျိုးအစားများကိုဖြတ်ပြီးတန်ဖိုး, utility နှင့်ထိရောက်မှုအားဖြင့်အဆင့်သတ်မှတ်ချက်ကိုသတ်မှတ်သည်။
| Tier | Armor Passive | Why? |
|---|---|---|
| **S** | Engineering Kit | Significantly increases utility; more grenades for various tactical options (sealing breaches, destroying objectives, crowd control). |
| Med-Kit | Dramatically improves survivability, especially when combined with the Experimental Infusion booster; essentially allows for "cheat death" scenarios. | |
| Siege-Ready | Boosts ammo capacity and reload speed for primary weapons; crucial for handling large enemy groups, particularly with high-consumption weapons. | |
| **A** | Democracy Protects | Provides substantial early-game survivability against lethal attacks and chest injuries. |
| Extra Padding | Offers a consistent boost to overall damage resistance. | |
| Fortified | Extremely effective against Automatons, mitigating damage from explosives and enhancing weapon effectiveness against heavily armored targets. | |
| Servo-Assisted | Ideal against Terminids; increased throwing range allows for safer stratagem deployment and grenade use; additional limb health improves survivability against claw attacks. | |
| **B** | Peak Physique | Situational; melee combat is generally avoided, though the weapon handling improvement is useful against mobile enemies. |
| Inflammable | Effective for fire-based builds and on maps with fire hazards; useful against Terminids and Illuminate. | |
| Scout | Useful for revealing enemy positions, but could be improved by highlighting points of interest or objectives. | |
| **C** | Acclimated | Limited value; rarely will you encounter all four elemental damage types in a single mission. |
| Advanced Filtration | Only beneficial for gas-focused builds; overall impact is relatively low. | |
| Electrical Conduit | Primarily useful against the Illuminate; other options often provide better overall benefits. | |
| Unflinching | Minimal impact on combat effectiveness; recoil reduction is barely noticeable. |
ဤလမ်းညွှန်နှင့် Tier List သည် Helpivers 2 တွင်သံချပ်ကာ Proments ကိုရွေးချယ်သောအခါဆုံးဖြတ်ချက်ချရန်သင့်အားကူညီခြင်း, သင်၏ရှင်သန်ရပ်တည်ရေးနှင့်ထိရောက်မှုကိုမြှင့်တင်ရန်ကူညီပေးပါလိမ့်မည်။ အကောင်းဆုံး passive သည်သင်၏ရွေးချယ်ထားသော Playstyle, မစ်ရှင်ရည်မှန်းချက်များနှင့်သင်ရင်ဆိုင်နေရသောရန်သူအုပ်စုများအပေါ်တွင်အမြဲမူတည်သည်ကိုသတိရပါ။
-
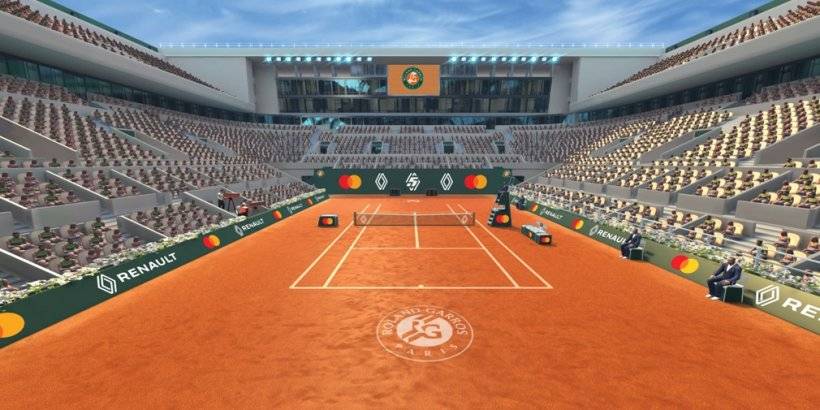 အကယ်. သင်၏တင်းနစ်စွမ်းရည်ကိုဒစ်ဂျစ်တယ်ဘုံတွင်သင်၏တင်းနစ်ပြိုင်ပွဲကိုပြသရန်စိတ်အားထက်သန်နေပါက Tennis Confless တွင် Asports StortiS Game သည် Wildlife စတူဒီယိုများမှ Asports Game သည်ပြီးပြည့်စုံသောအဆင့်ကိုပေးသည်။ လစဉ်ကစားသမား 5 သန်းနှင့်ဒေါင်းလုပ်ပေါင်းသန်း 170 ကျော်နှင့်အတူတင်းနစ်တိုက်ပွဲများကို Roland-Ga ၏ 2025 ထုတ်ဝေကိုအိမ်ရှင်အဖြစ်လက်ခံကျင်းပရန်စီစဉ်ထားသည်စာရေးသူ : Andrew May 18,2025
 -
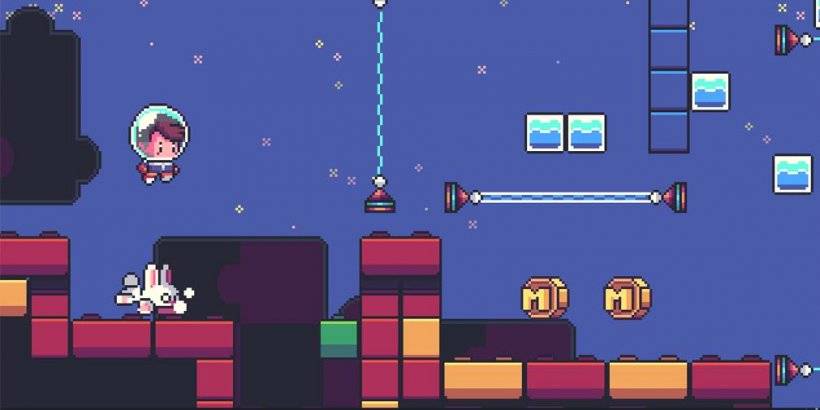 Ludibrium Interactive သည်စိတ်အားထက်သန်စွာစောင့်မျှော်ထားသော Super Milo Adventures အတွက်ကြိုတင်စောင့်မျှော်ခဲ့ရသော Supo Adventures များအတွက်ကြိုတင်စောင့်မျှော်ခဲ့ရသော Supo Adventures အတွက်ကြိုတင်မှတ်ပုံတင်ခြင်းကိုဖွင့်လှစ်ထားသည်။ ဆယ်စုနှစ်တစ်ခုစက်မှုလုပ်ငန်းအတွေ့အကြုံကိုဝါကြွားသောတစ်ကိုယ်တော်တီထွင်သူ Aron Kramer မှပြုလုပ်ထားပြီး Metroidvania သို့သူ၏အလုပ်အတွက်ကျော်ကြားသည်စာရေးသူ : Hunter May 18,2025
-
 Ligang Labas 2Kဒေါင်းလုဒ်လုပ်ပါ။
 -
 Carrom Lure - Disc pool gameဒေါင်းလုဒ်လုပ်ပါ။
 -
 Coin Splash: Spin, Raid & Win!ဒေါင်းလုဒ်လုပ်ပါ။
 -
 Shooting Kingဒေါင်းလုဒ်လုပ်ပါ။
 -
 My Robot Mission ARဒေါင်းလုဒ်လုပ်ပါ။
 -
 The Queen's Gambit Chessဒေါင်းလုဒ်လုပ်ပါ။
 -
 Racing Motoဒေါင်းလုဒ်လုပ်ပါ။
 -
 Piano Dream: Tap Music Tilesဒေါင်းလုဒ်လုပ်ပါ။
 -
 Libre Memory Gameဒေါင်းလုဒ်လုပ်ပါ။
 -
 Superb Casino - HD Slots Gamesဒေါင်းလုဒ်လုပ်ပါ။


- WWE စူပါစတားများသည် Call of Duty Warzone- Mobile Roster တွင်ပါဝင်ပါ။
- Ultimate Trails The Beat Resours စိန်ခေါ်မှုများ [alpha]
- "Grand Darlaws က Android ဆော့ဖ်ဝဲလ်ပိုက်လိုင်းကိုပရမ်းပတာနဲ့ရာဇ 0 တ်မှုတွေကိုလွှတ်ပေးတယ်"
- Video Game သီချင်းသည် Spotify တွင်သန်း 100 ကျော်လွန်သွားသည်
- Pocket Gamer People's Choice Award 2024- ဂိမ်းကို ထုတ်ဖော်ခဲ့သည်။
- Xbox ခလုတ်များအဘို့အလာမယ့်ဂိမ်း gaming
-
1သင်၏အချိန်ကို Master Master: အကောင်းဆုံးကုန်ထုတ်စွမ်းအားအက်ပ်များ
-
2သင်ယူမှုကို မြှင့်တင်ရန် ပျော်စရာ ပညာရေးဂိမ်းများ
-
3ပစ်ခတ်မှုဂိမ်းများ၏ကမ္ဘာကိုစူးစမ်းလေ့လာပါ
-
4Android အတွက် အကောင်းဆုံး အားကစားဂိမ်းများ
-
5ထိပ်တန်းအဆင့်သတ်မှတ်ထားသော မီဒီယာနှင့် ဗီဒီယိုတည်းဖြတ်ရေးအက်ပ်များ
-
6Android အတွက် အကောင်းဆုံး ပဟေဋ္ဌိဂိမ်းများ